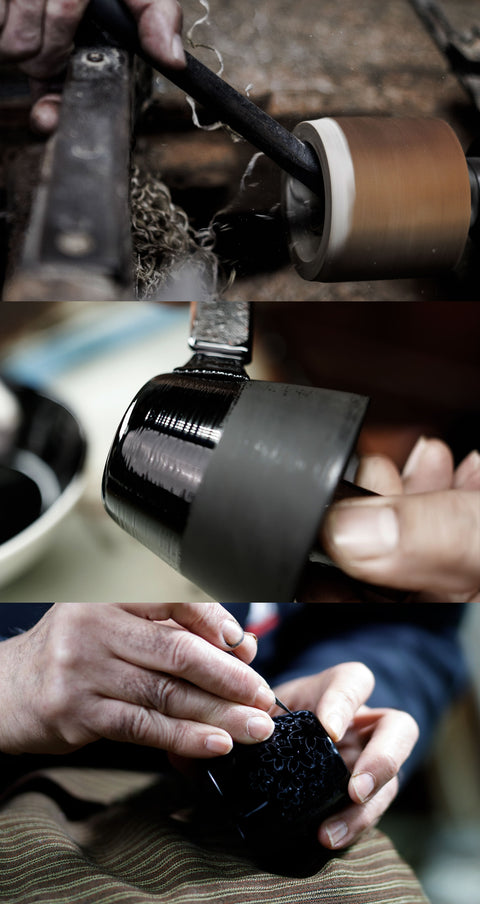
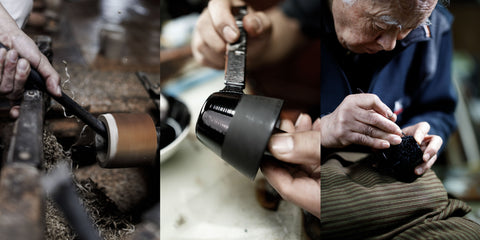
The production of Wajima lacquerware involves approximately 124 + 1 steps.
While we cannot showcase them all, we will introduce a selection of key processes.
Even this glimpse will help you understand why it is considered a 'lifetime treasure'.
Processes
The production of Wajima-nuri lacquerware has long been highly specialized, with traditional techniques passed down through generations by expert artisans such as kijishi (wood base makers), nushi (lacquerers), and chinkinshi/makieshi (craftsmen specializing in chinkin and maki-e decoration).
01
Wood Base Preparation (Over 5 years + 1 to 3 months)
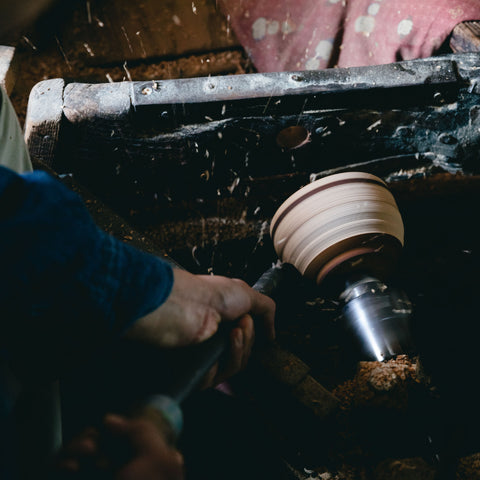
High-quality wood is carefully selected and dried for several years before being carved into the desired shape.
This process forms the foundation of Wajima-nuri, ensuring durability and precision.
02
Undercoating (3 to 6 months)
Raw lacquer is applied, and fabric is used to reinforce the vessel.
Layers of Jinoko (diatomaceous earth powder) and lacquer are then carefully built up,
enhancing both strength and smoothness.
03
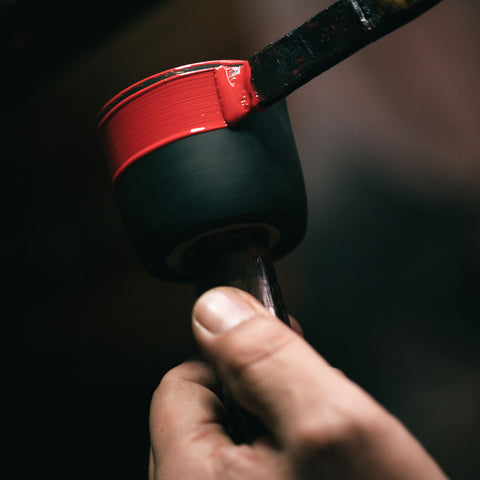
Intermediate Coating and Polishing (1 to 2 months)
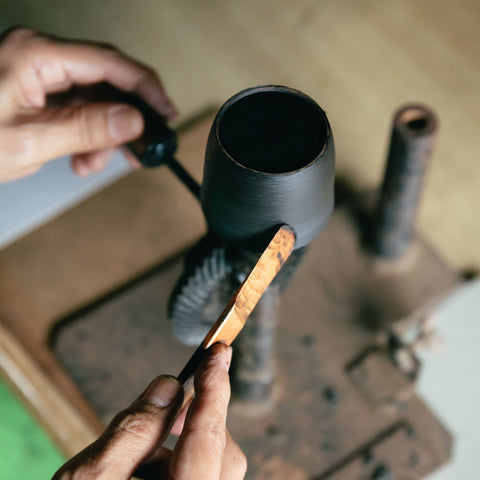
An intermediate layer of lacquer is applied, followed by repeated polishing to further refine the surface.
This process also includes a careful inspection to ensure the overall shape is perfectly formed.
04
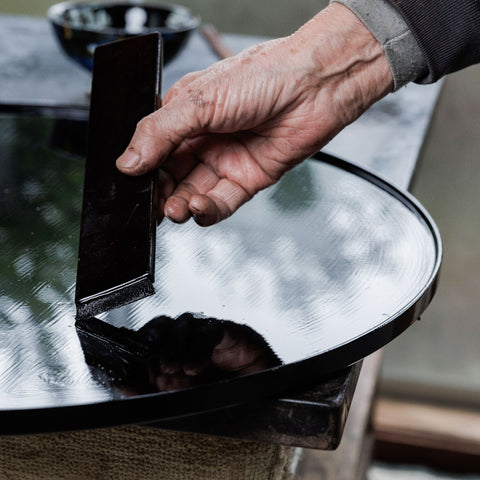
Final Polishing and Top Coating (1 to 2 months)
The surface is meticulously refined, and the finest lacquer is applied and left to dry.
This process creates the deep, signature luster that defines Wajima-nuri.
05
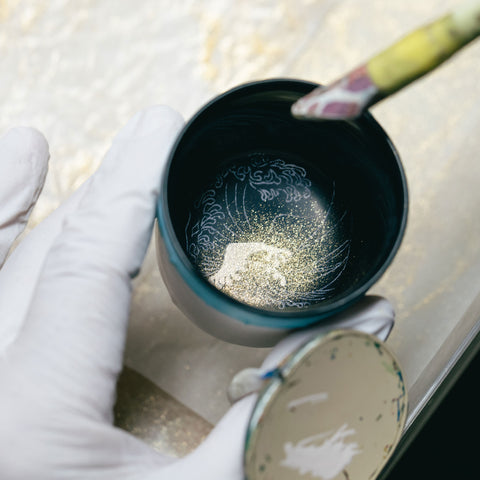
Decoration (2–4 weeks)
Brilliant designs are applied using techniques such as maki-e (sprinkled gold) and chinkin (gold-inlay carving), incorporating gold powder and gold leaf. Each piece is carefully handcrafted by skilled artisans.
06
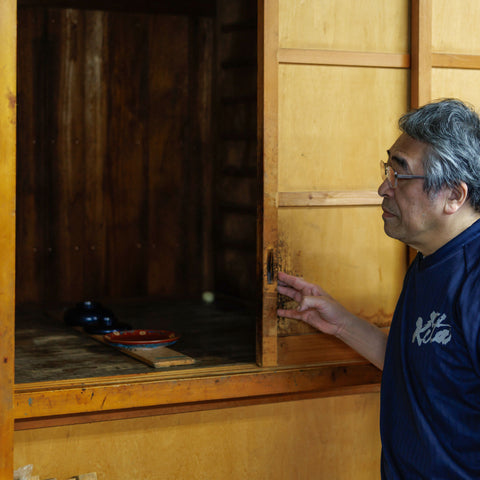
Final Finishing (1 month)
The lacquer is fully cured in a special drying room, then the surface is polished to bring out its rich luster.
07
Inspection & Completion (1–2 weeks)
Each piece undergoes strict inspection to ensure the beauty and quality of Wajima-nuri.
It is then carefully packaged and delivered to your hands.
+1
The final step is in your hands.
Wajima-nuri is a special lacquerware that becomes smoother and more lustrous with every use. Let it bring richness to your daily life through all five senses—and pass its beauty on to your children and grandchildren.
Legal (Law) proposal
"Wajima-nuri” is defined as a product that meets all the requirements set forth in the
‘Law Concerning the Promotion of Traditional Craft Industries".
The requirements are as follows.
[Techniques]
1. the basecoat shall be applied by the following techniques
(1) After coating the wood with raw lacquer, “cloth dressing” shall be done using hemp or cold gauze coated with “Kisemono lacquer”.
(2) Repeat the process of applying a mixture of raw lacquer, rice glue, and “Wajima jinoko” and then polishing.
2. The top coat should be “Hana-nuri” or “Roiro-nuri” using refined lacquer.
3. When decorating, Chinkin or Maki-e (gold-relief lacquer) should be used.
4. The woodwork shall be made by one of the following methods.
(1) For hikimono, a rokuro stand and a rokuro plane shall be used.
(2) For planks or bent pieces, “kokuso urushi” shall be used to form the pieces.
[Materials]
1. Natural lacquer shall be used for the lacquer.
The wood shall be hiba, zelkova, katsura, or hohonoki (Japanese cypress), or a wood of equivalent quality.
[Manufacturing area]
Wajima City, Ishikawa Prefecture

